Jen D” wrote:
That’s awesome! Clem looks a little perturbed! Long hours at the Piper factory?? :silly: :lol:
And now Clem has been stuck inside the sidewall of my Apache! I’d be perturbed too! 😛
Posted In: PA-23
Jen D” wrote:
That’s awesome! Clem looks a little perturbed! Long hours at the Piper factory?? :silly: :lol:
And now Clem has been stuck inside the sidewall of my Apache! I’d be perturbed too! 😛

Here are the gauges taken out of the Apache for the upgrade. There is still one more gauge to go that has not been removed yet. The newer gauge installation takes up way less instrument panel space and they weigh less too.
Say “Hi” to “Clem”! While installing the OAT sensor on the side of the fuselage I found this bit of “art” drawn on the inside of the outer left fuselage skin of the plane. I didn’t see it until pulling back the insulation. Not sure if it was drawn when the plane was made or by later mechanic.
So now you know an “inner secret” of my Apache!
BTW, no, I do not call my plane “Clem”.:cheer:
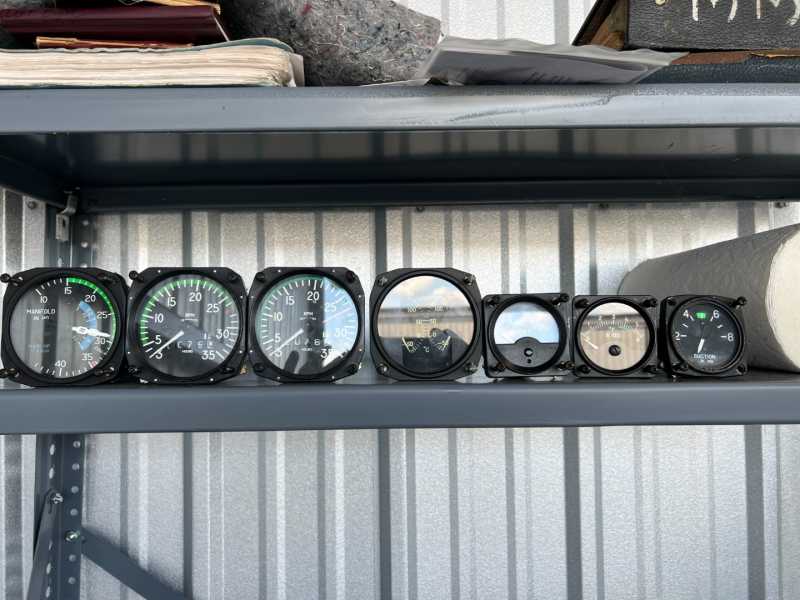
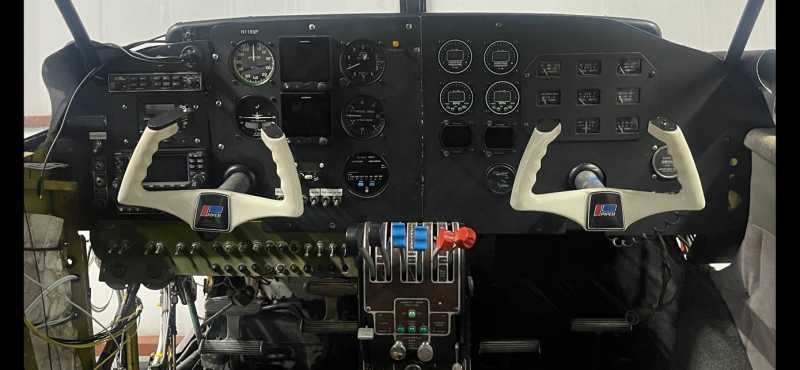
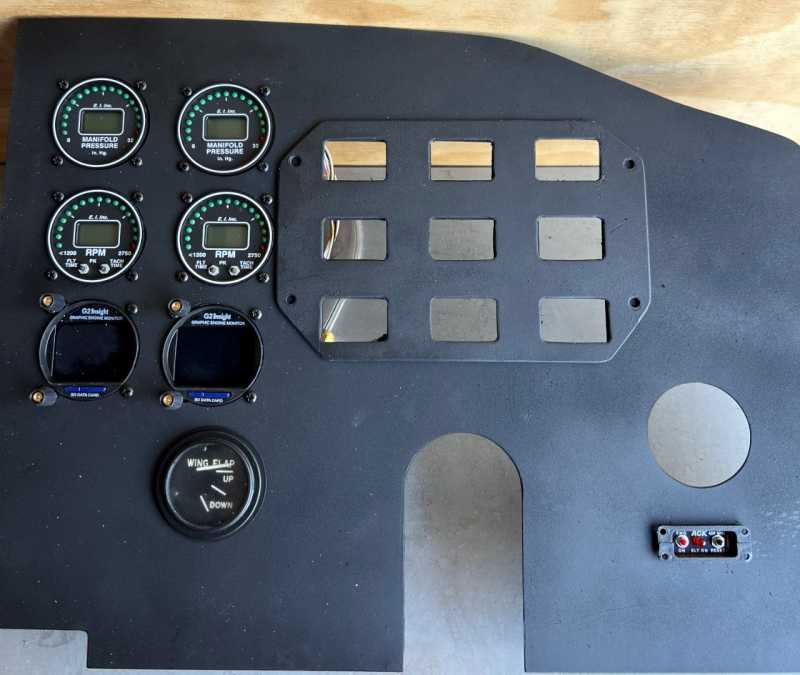
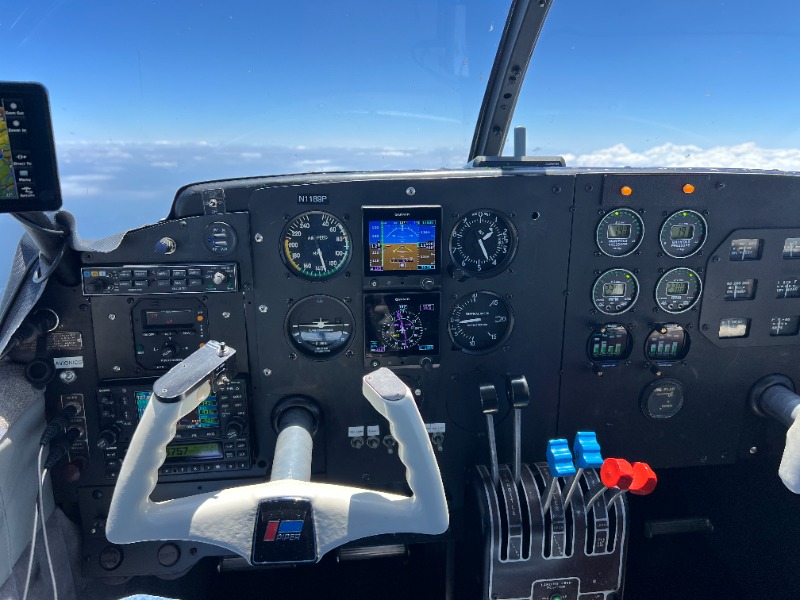
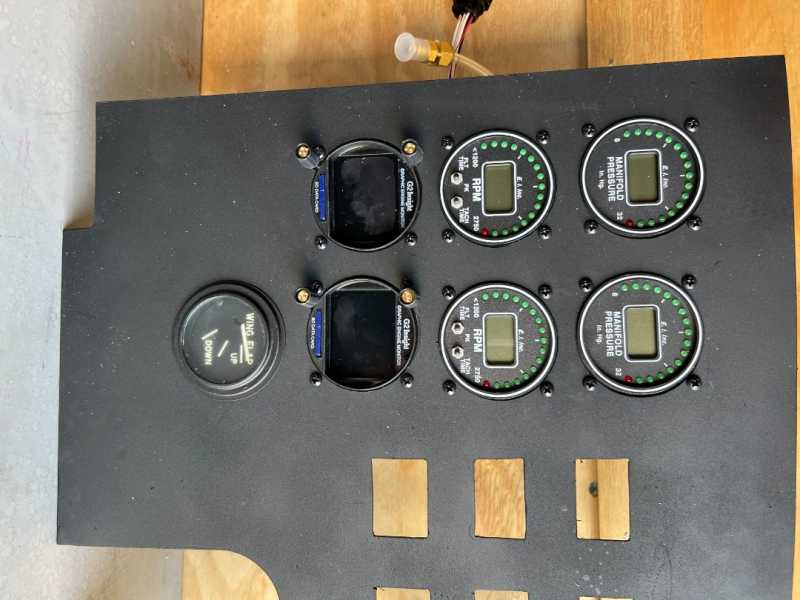
Panel is looking good with the new left engine gauges lighting up!
The Insight G2 looks great here and gives a lot of info.
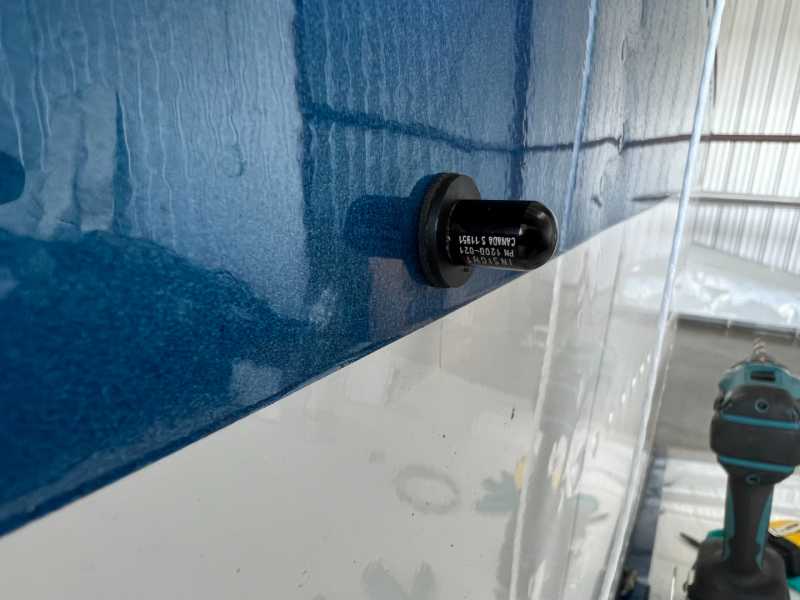
The G2 includes OAT readout and sensor. Here the sensor is installed on the left side of the cockpit.
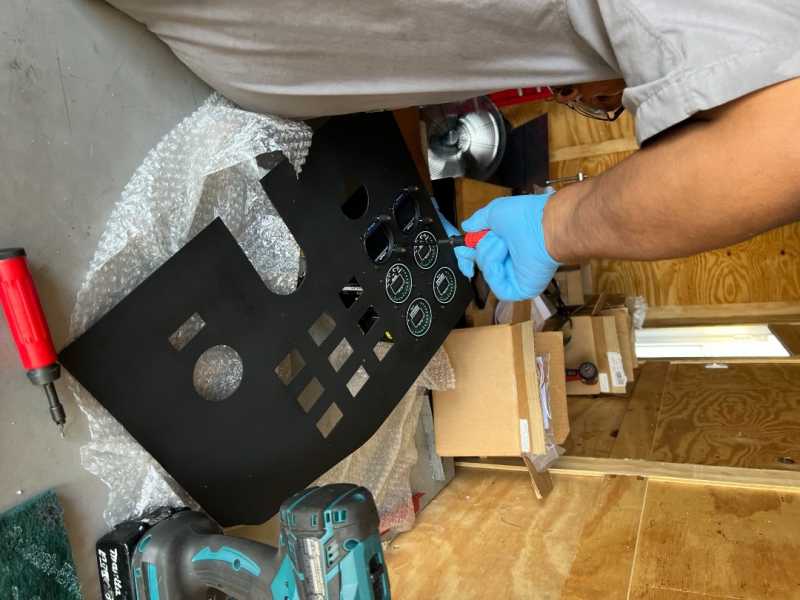
First power up for the new gauges today! The yellow ALT INOP light will be relocated to over the Manifold Pressure gauges later. But a big day, lots of visual progress. We also added the OAT sensor for the Insight G2.

Now for the fun part! Panel on the right hand side just went in! Nothing powers up yet so a lot of work to go but still a great milestone. The “plan” is to have it flying in September. My mechanic will be out of town the next two weeks but then we will make the big push to finish it.
Not as exciting as panel work but work has gotten underway again, this time we finished the wiring and plumbing on the left engine. This has been a time sink but the fuel lines ended up taking up a lot of time as we needed to custom make the lines to go through the new fuel flow sensor. So they are finally installed and the Carb Heat wiring got done today as well. So now to get the instrument panels installed!
Oh, and to wire and plumb the right engine! Should be faster as we now have all the parts (and knowledge) after completing the left engine.
Attachments:
L Engine.JPG
Major Visual Progress today!
Got panel painted today. At least that’s something I can do!

My mechanic friend getting the instruments installed into the panel
I really like the new layout. Of course I should, I chose it!

Notice the extra overlay for the engine instruments on the right side. We need some additional wiring as it turns out the current wires for the ammeter are too short.

Getting closer to the fun part! I had a job change and then got COVID so of course things go slow, but…. Visible Progress!
Notice that the right side of the panel will now be one piece instead of three. The gauges are “stacked” with the Manifold Pressure at top, then tach, then GEM. The single bottom right gauge is the flap indicator. On the far right is the Hobbs and the ELT.
Here is the peak of the “destruction” with the entire right side of the panel removed. We decided to make a one piece replacement.
We had to use a cardboard template to layout the shape and size of the panel as well as the position of the gauges.
I’m pretty happy with the final layout. If we did our work properly there won’t be any issues with clearance on the gauges.

By using our website, you agree to our use of cookies. Learn more
Login below or Register Now.
Already registered? Login.
